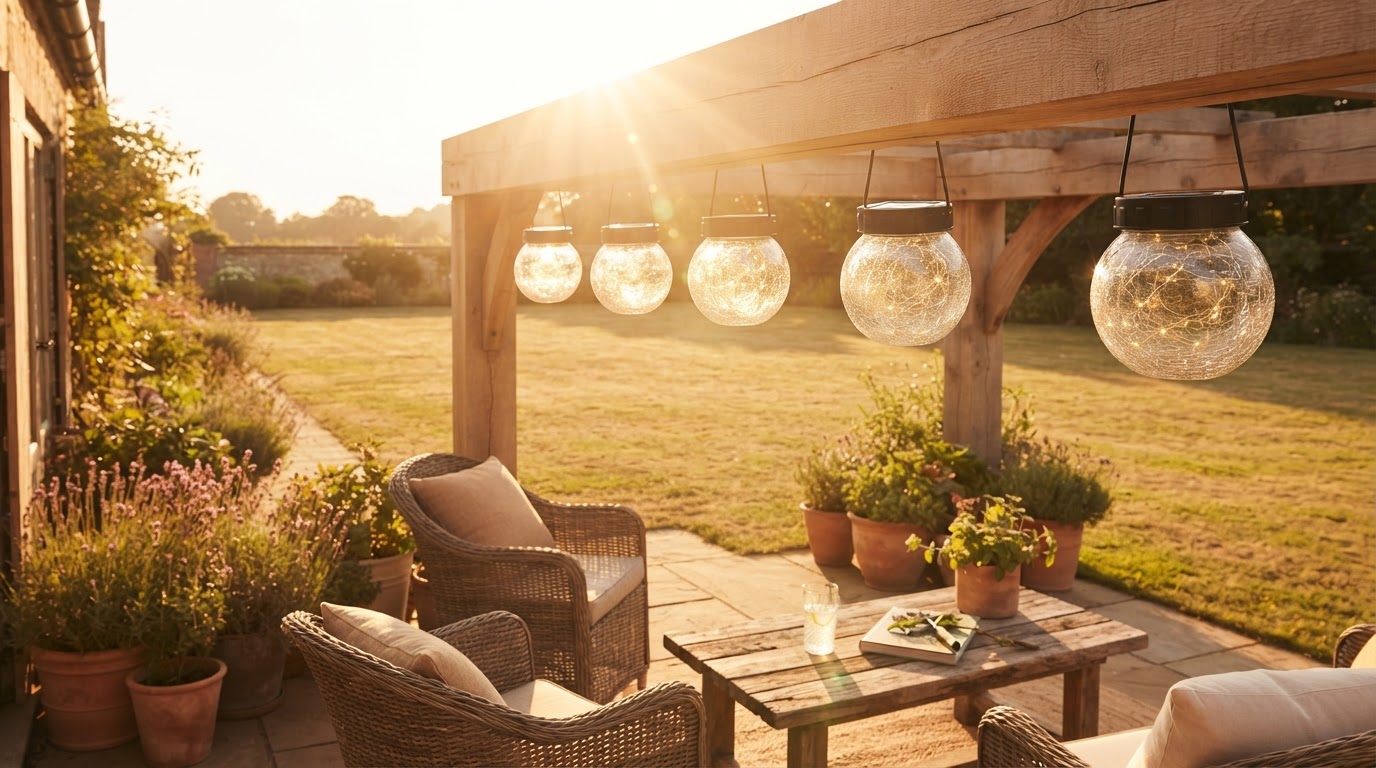
How to Set Up Solar Outdoor Lanterns for Maximum Sun Exposure
Proper placement of outdoor solar lights determines how effectively their internal batteries charge during daytime hours and how brightly they illuminate at night. Follow these steps to optimize your setup.
Step 1: Select an Unshaded Outdoor Location

Identify garden zones, pathways, or patio spaces that receive direct, unobstructed sunlight for at least 6 to 8 hours daily. Avoid placing solar collectors directly underneath heavy tree foliage, wide roof eaves, or structural overhangs that cast long shadows during peak mid-day hours.
Step 2: Ensure Optimal Solar Panel Angle and Cleanliness
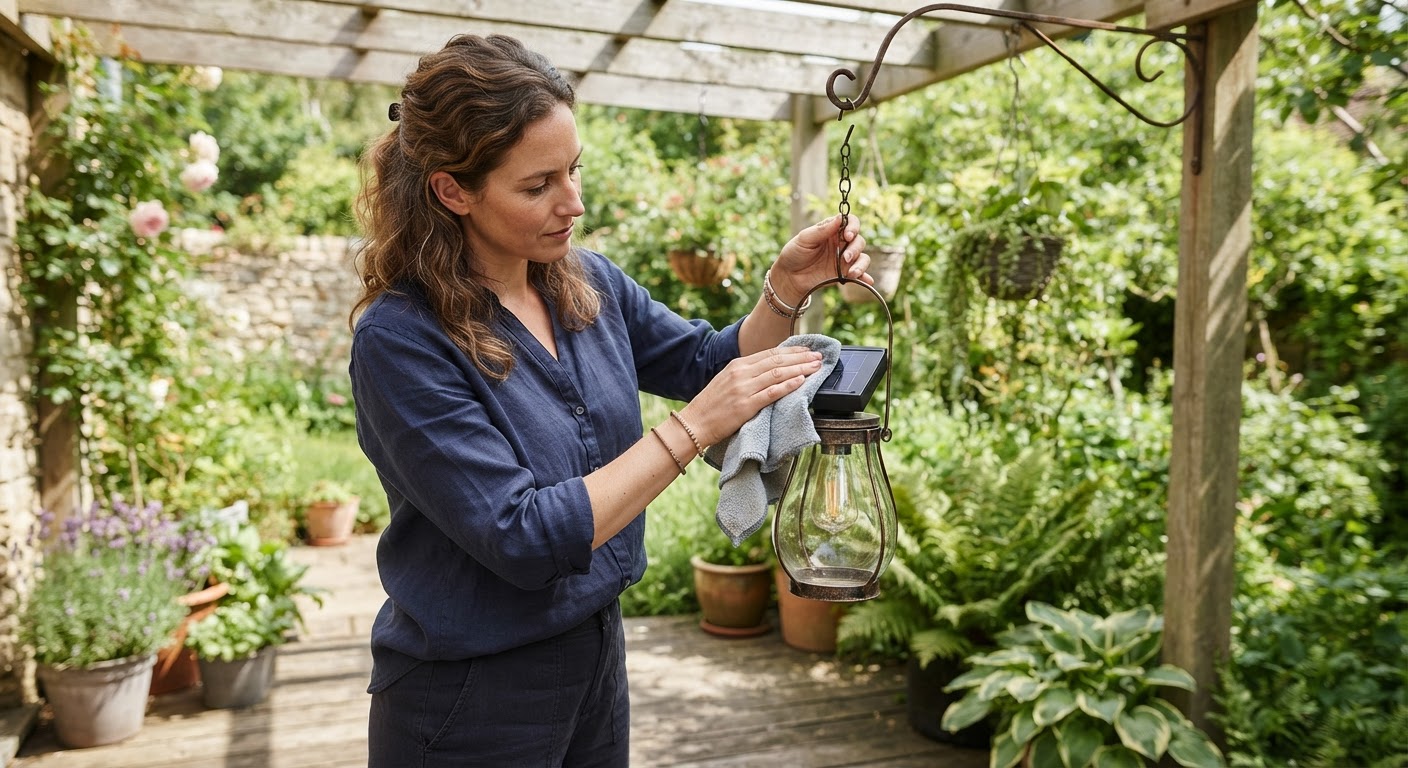
Position the top-mounted solar panel facing skyward where daylight hits directly. Units built with a Polycrystalline silicon solar panel for higher efficiency absorb energy quickly, but keeping the glass solar surface free from dust, fallen leaves, or dirt ensures maximum photoelectric conversion.
Step 3: Utilize Versatile Hanging or Tabletop Positioning
Choose an installation method tailored to your outdoor space layout. Versatile fixtures offer options Suitable for hanging or tabletop placement, allowing you to hang units on shepherd hooks, tree branches, umbrella frames, or set them directly on outdoor dining tables. As discussed in [the main guide], adaptable mounting choices allow you to reconfigure lighting without moving electrical wires.
Step 4: Allow Initial Charging Cycle Before First Night
When setting up a new Solar Hanging Lantern, allow the unit to undergo a full initial charging time of 6-8 hours in direct daylight before relying on night illumination. This fully conditions the battery to achieve Up to 12 hours of battery life on a single charge.
Read the full guide: Solar vs Electric Outdoor Lighting: The Ultimate Guide for Homeowners